


I know you can run a Jitsi server on a Raspberry Pi 4. But is it any good? That’s something I wanted to find out.
Have questions about your setup? Ask in our forums.
Parts List
- Broadband internet connection with no blocked ports.
- A router capable of port forwarding.
- Fully qualified domain name
- Raspberry Pi 4 2/4/8 GB.
- SD card.
Ports
You’ll need to forward the following ports to the IP address of your Raspberry Pi.
- 80/tcp
- 443/tcp
- 5349/tcp
- 3478/udp
- 10000/udp
0. DNS and port forwarding
Your ANAME and CNAME records should look a little something like this. ANAME pointed at your public IP address and CNAME mapped to the meet subdomain.

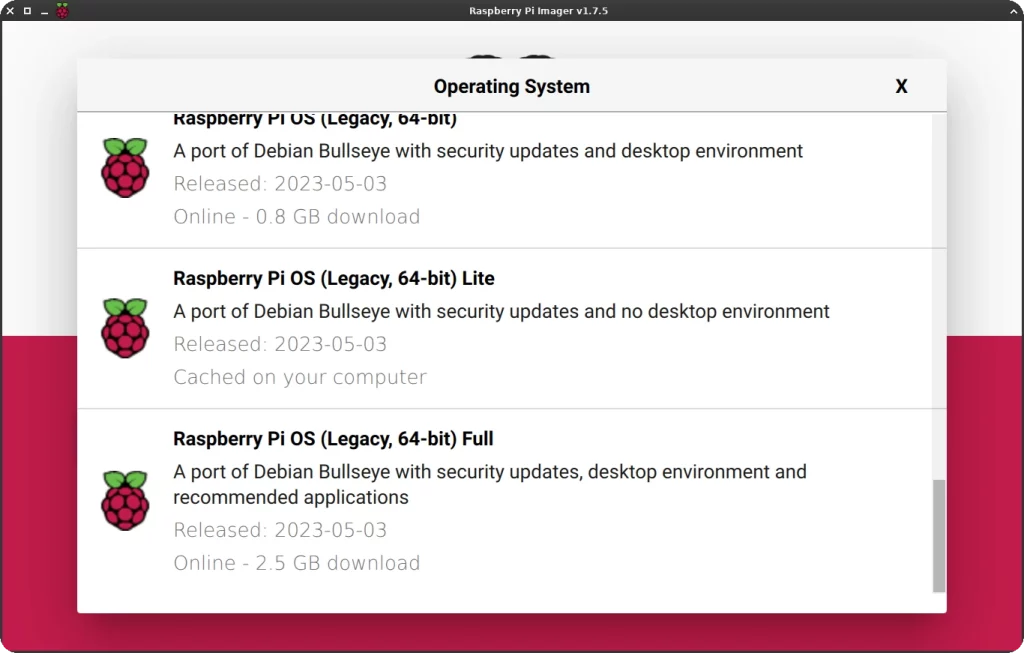
1. Download and install Raspberry Pi OS (Legacy, 64-bit) Lite.
2. Mount the Raspberry Pi rootfs partition, head over to /etc, and open a terminal.

3. Edit dhcpcd.conf and give the Pi a static IP address.

4. SSH into the Pi and set a root password.
sudo passwd root5. Configure the Pi to require a password when using sudo.
sudo nano /etc/sudoers.d/010_pi-nopasswd
6. Install and configure UFW.
sudo apt install ufwsudo ufw allow 80/tcp ; sudo ufw allow 443/tcp ; sudo ufw allow 5349/tcp ; sudo ufw allow 3478/udp ; sudo ufw allow 10000/udp ; sudo ufw allow OpenSSHsudo ufw enable7. Set your hostname
sudo hostnamectl set-hostname jitsi.your_domain8. Map the server’s hostname to your public IP address.
sudo nano /etc/hosts
9. Add the Jitsi APT repository.
curl https://download.jitsi.org/jitsi-key.gpg.key -o jitsi-key.gpg.key sudo gpg --output /usr/share/keyrings/jitsi-key.gpg --dearmor jitsi-key.gpg.key rm *.keysudo nano /etc/apt/sources.list.d/jitsi-stable.listAdd the following to jitsi-stable.list and save.
deb [signed-by=/usr/share/keyrings/jitsi-key.gpg] https://download.jitsi.org stable/10. Update apt and install Jitsi.
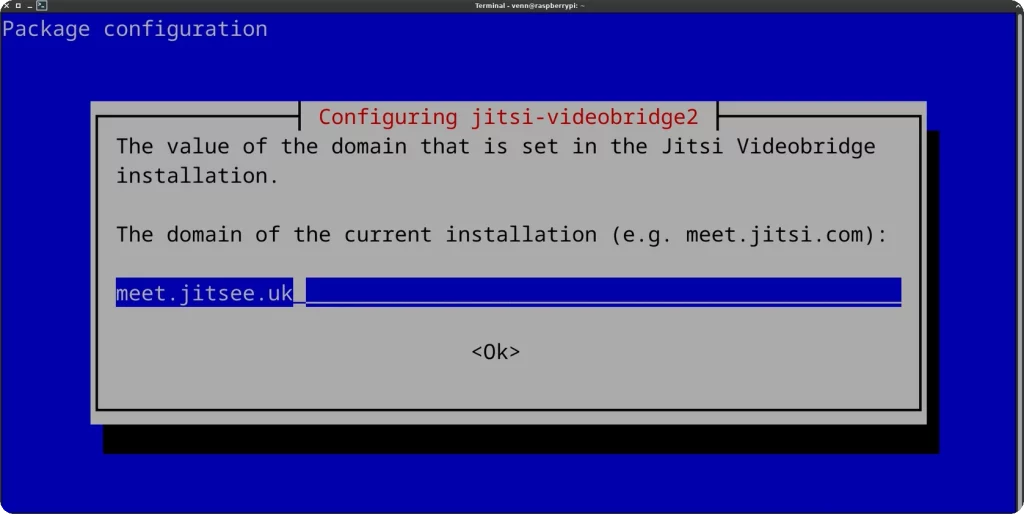
sudo apt updatesudo apt install jitsi-meet=2.0.8719-1 jicofo=1.0-1038-1 jitsi-meet-web=1.0.7322-1 jitsi-meet-web-config=1.0.7322-1 jitsi-meet-prosody=1.0.7322-1 jitsi-videobridge2=2.3-25-g1da507fa-1 jitsi-meet-turnserver=1.0.7322-111. During the installation, you will be prompted for your domain name.
12. When prompted, select Let’s Encrypt for your SSL certificate.

13. Tell the TURN server to wait for the network interface.
sudo systemctl edit coturn [Unit]
After=network-online.target
Wants=network-online.target
14. Configure SIP
sudo nano /etc/jitsi/jicofo/sip-communicator.propertiesAdd the following and save
org.jitsi.jicofo.auth.URL=XMPP:meet.mrjitseeks.uk15. Locking room creation
Open /etc/prosody/conf.avail/jitsi.your_domain.cfg.lua and change authentication = “jitsi-anonymous” to authentication = “internal_hashed”
sudo nano /etc/prosody/conf.avail/your_domain.cfg.lua
16. Create user accounts.
You will need a username and password for each user.
sudo prosodyctl register user your_domain password17. Prevent Jitsi from updating.
sudo apt-mark hold jitsi-meet=2.0.8719-1 jicofo=1.0-1038-1 jitsi-meet-web=1.0.7322-1 jitsi-meet-web-config=1.0.7322-1 jitsi-meet-prosody=1.0.7322-1 jitsi-videobridge2=2.3-25-g1da507fa-1 jitsi-meet-turnserver=1.0.7322-118. Reboot the system and you should be good to go.
sudo reboot nowFinal Thoughts
The RasPi 4 makes a solid Jitsi server for 2 to 6 people if all you need to do is host a video conference.
I’ve been using it for the past couple of weeks, and it’s been perfectly stable.
Have questions about your setup? Ask in our forums.


Add comment